We rarely notice how much of what we believe rests on things we cannot directly see. Science asks us to accept entities, forces, and structures that appear only through their effects. Philosophy steps in at this point, not to question science, but to ask what makes such a belief reasonable in the first place.
When Inference Justifies Belief
We live surrounded by things we cannot directly experience. Atoms, black holes, gravity, even other minds. Our senses reveal only a thin slice of reality, yet we form beliefs about what lies beyond.
So the real question is not whether we can see something. The question is when believing the unseen becomes reasonable.
The whole of science is nothing more than a refinement of everyday thinking.
Albert Einstein, Physics & Reality
The limits of perception
Human perception evolved for survival, not truth. We see objects at the human scale, but the microscopic, the cosmic, and the abstract remain hidden.
Human perception is selective. It filters rather than reveals. What we experience is already interpreted by cognitive models that prioritise usefulness over completeness. Colour, solidity, and continuity are not properties we perceive directly at the fundamental level. They are stable interpretations that help us navigate the world.
In this sense, the gap between appearance and reality is not unusual. It is the normal condition of knowing. Science does not introduce that gap. It makes it explicit and tries to bridge it.
For example, a table appears solid, yet physics describes it as mostly empty space structured by forces. The difference is not an error in perception, but a difference in explanatory level.
Science begins where perception fails.

We believe in many things we cannot see because they explain the world better than anything else.
Indirect evidence works
We never see electrons directly. Yet their existence explains chemical bonds, electricity, and modern technology.
Experiments do not show electrons themselves. They show patterns that make electrons the best explanation. The double slit experiment is a powerful example. What we observe is behaviour, not the object itself.
Much of scientific knowledge relies on instruments that extend perception. Microscopes, detectors, and sensors do not simply show hidden objects. They translate interactions into signals that must be interpreted. What scientists observe is rarely the entity itself, but the trace it leaves.
This makes inference unavoidable. We move from effects to causes, from measurements to models. The strength of indirect evidence lies in repeatability. When different experiments produce compatible traces, confidence grows even without direct observation.
This is why entities like electrons feel less speculative than they might appear. They participate in explanations across chemistry, physics, and engineering. Their reality is supported by how much of the world becomes intelligible once they are assumed.
Indirect evidence is often stronger than direct perception.

Science often works by trusting indirect evidence, not direct observation.
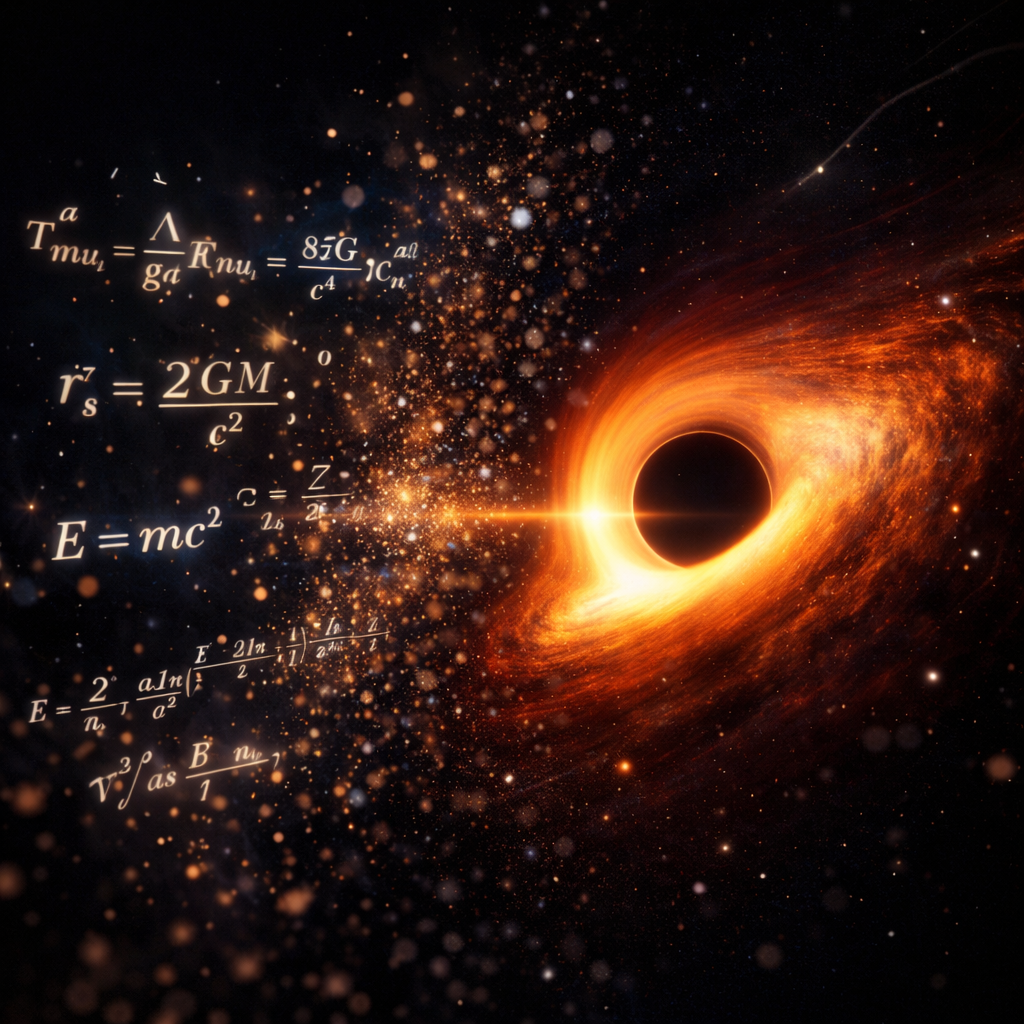
When theory becomes real
Black holes began as mathematical objects in relativity. For decades, they were theoretical objects.
Over time, different lines of evidence converged. Gravitational waves. Stellar motion. Telescope images. Theory moved into observation.
This transition from theory to observation is rarely sudden. It is gradual and often messy. Early evidence reduces uncertainty rather than eliminating it, and competing interpretations may coexist for years, sometimes decades.
A well-known example is the debate over the nature of light. For centuries, scientists disagreed about whether light was a wave or a particle. Different experiments supported different interpretations, and neither framework fully displaced the other. With the development of quantum mechanics, a new account emerged, showing that light behaves in ways that do not fit neatly into either category. Competing interpretations persisted because each explained part of the evidence.
A similar pattern appears in cosmology. Observations revealed that galaxies are moving away from each other, yet scientists disagreed about why. Some explanations focused on the universe’s initial conditions, while others introduced new concepts such as dark energy. For years, multiple explanations coexisted as evidence accumulated and models were refined.
What changes over time is not a single decisive moment, but the accumulation of constraints. As measurements improve, the space of plausible alternatives narrows. Eventually, the theoretical entity becomes the most stable explanation available.
Black holes illustrate this process clearly. They were first mathematical possibilities, then astrophysical hypotheses, and finally observational targets. Each stage relied on inference before confirmation.
Inference allowed belief long before confirmation arrived.
The invisible becomes real when evidence converges from different directions.
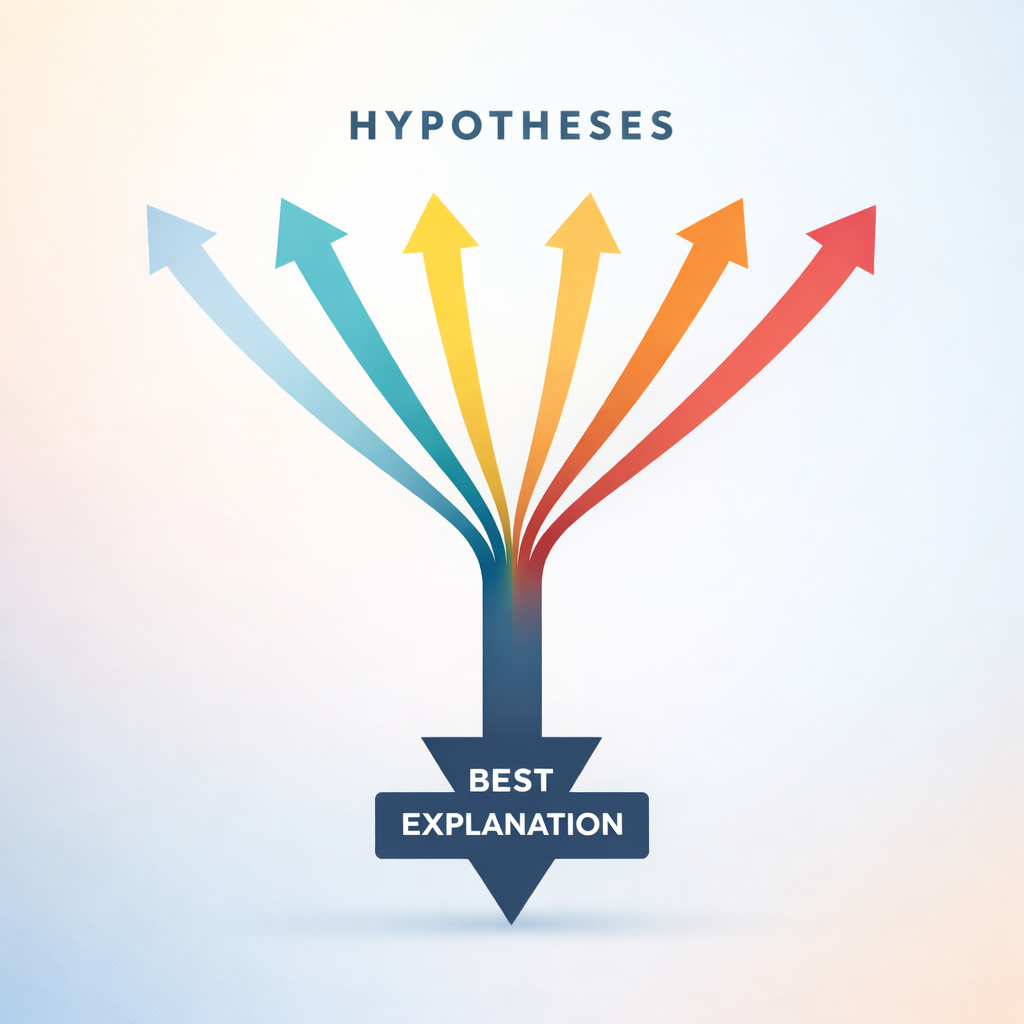
The core idea — Inference to the best explanation
Science does not accept ideas randomly. It compares explanations.
When we observe patterns, there are usually multiple ways to explain them. Some explanations are narrow, some are complicated, and some fail when new evidence appears. Scientific reasoning works by weighing these possibilities rather than committing too quickly.
An explanation becomes reasonable when it explains observations better than alternatives, generates predictions, fits with what we already know, and cannot be replaced by a simpler rival. The strength of an idea lies not in being imaginable, but in doing explanatory work.
Philosophers call this process inference to the best explanation. We infer that something exists because it makes the world more understandable than competing accounts.
Many central scientific ideas emerged this way. Gravity was accepted long before its mechanism was understood because it explained motion across the heavens and the earth with remarkable consistency. Today, dark matter occupies a similar position. It has not been directly observed, yet it explains patterns that otherwise remain puzzling.
Inference does not guarantee truth. It provides the most reasonable belief available given current evidence. Science moves forward by trusting the explanation that works best, while remaining open to replacement when a better one appears.
Inference is not guessing. It is disciplined explanation.
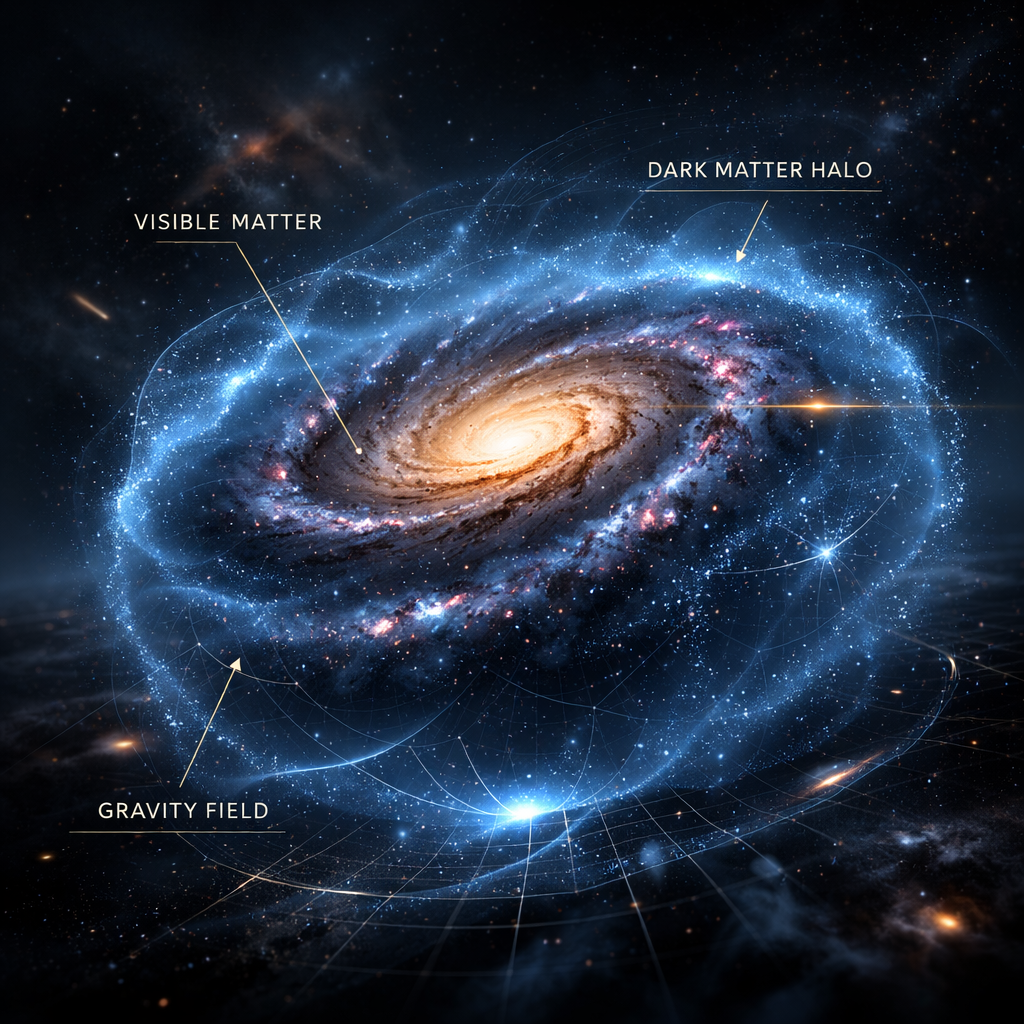
The frontier — dark matter
Galaxies rotate in ways that visible matter cannot explain. Something unseen appears to influence gravity.
Dark matter is compelling because the same discrepancy appears in multiple contexts. Galaxy rotation curves, gravitational lensing, and large-scale structure all suggest the presence of more mass than we can see. The consistency of this pattern is what gives the idea weight.
At the same time, dark matter remains a frontier because alternative explanations are still explored. Modified gravity theories attempt to explain the same observations without introducing new entities. This is exactly how science should operate. Competing explanations sharpen inference.
The interesting philosophical point is that belief here is graded rather than binary. Scientists treat dark matter as the best current explanation while actively searching for ways it might be wrong.
Dark matter has not been directly detected. Yet its effects are consistent across observations.
Science often believes before it sees.
Dark matter shows that science is comfortable believing before seeing.
The boundary of reason
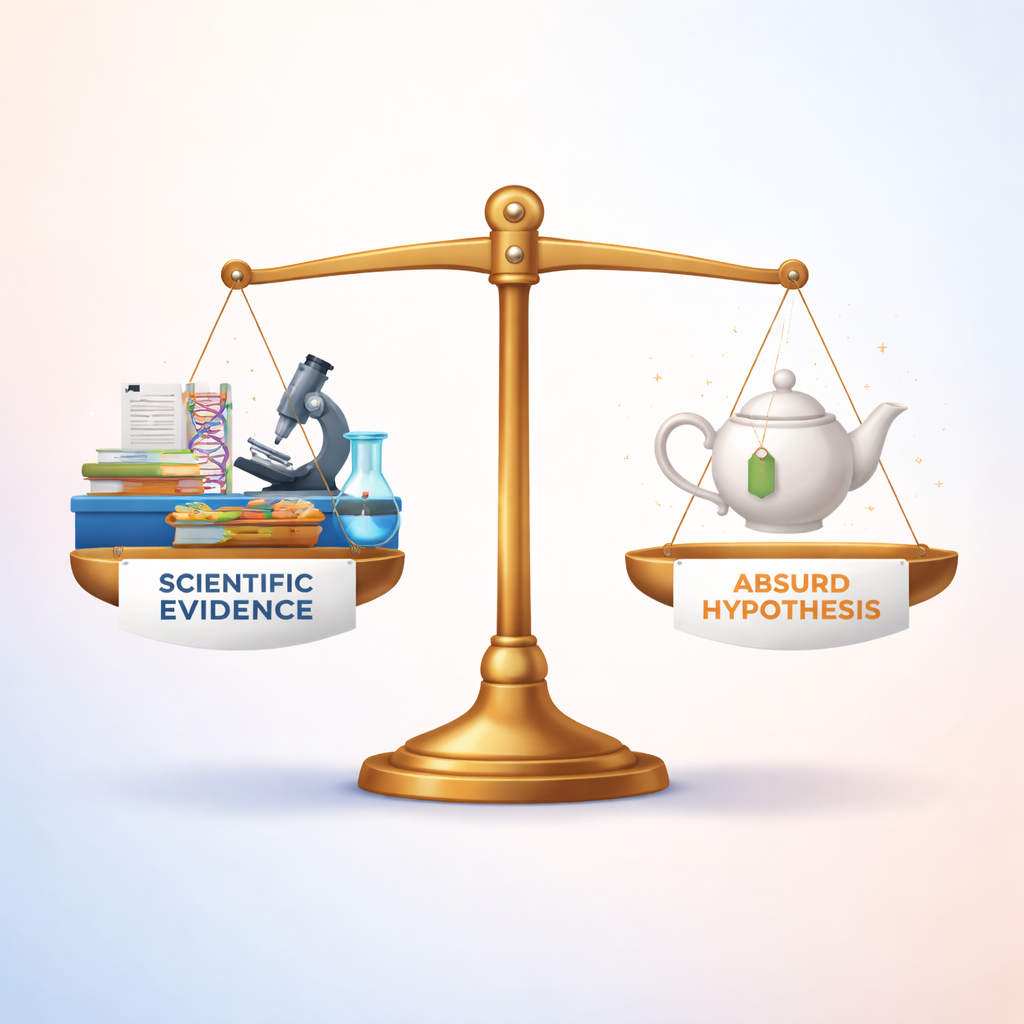
Not every unseen claim deserves belief. Some ideas cannot be tested, predicted, or explained.
An undetectable object that leaves no trace explains nothing. It does not compete with scientific explanations.
Testability marks the boundary between inference and speculation.
The distinction is not between visible and invisible. It is between explanatory and non-explanatory posits. An unseen entity becomes reasonable when removing it makes our understanding worse. If nothing changes when the entity is removed, the posit does no work.
This is why unfalsifiable claims struggle within scientific reasoning. They cannot be constrained by evidence and therefore cannot improve explanations. Science does not reject them because they are invisible, but because they do not participate in the cycle of refinement.
Testability, in this sense, is less about immediate experiments and more about vulnerability. Reasonable ideas risk being wrong.
Not every explanation deserves belief. Testability draws the boundary.
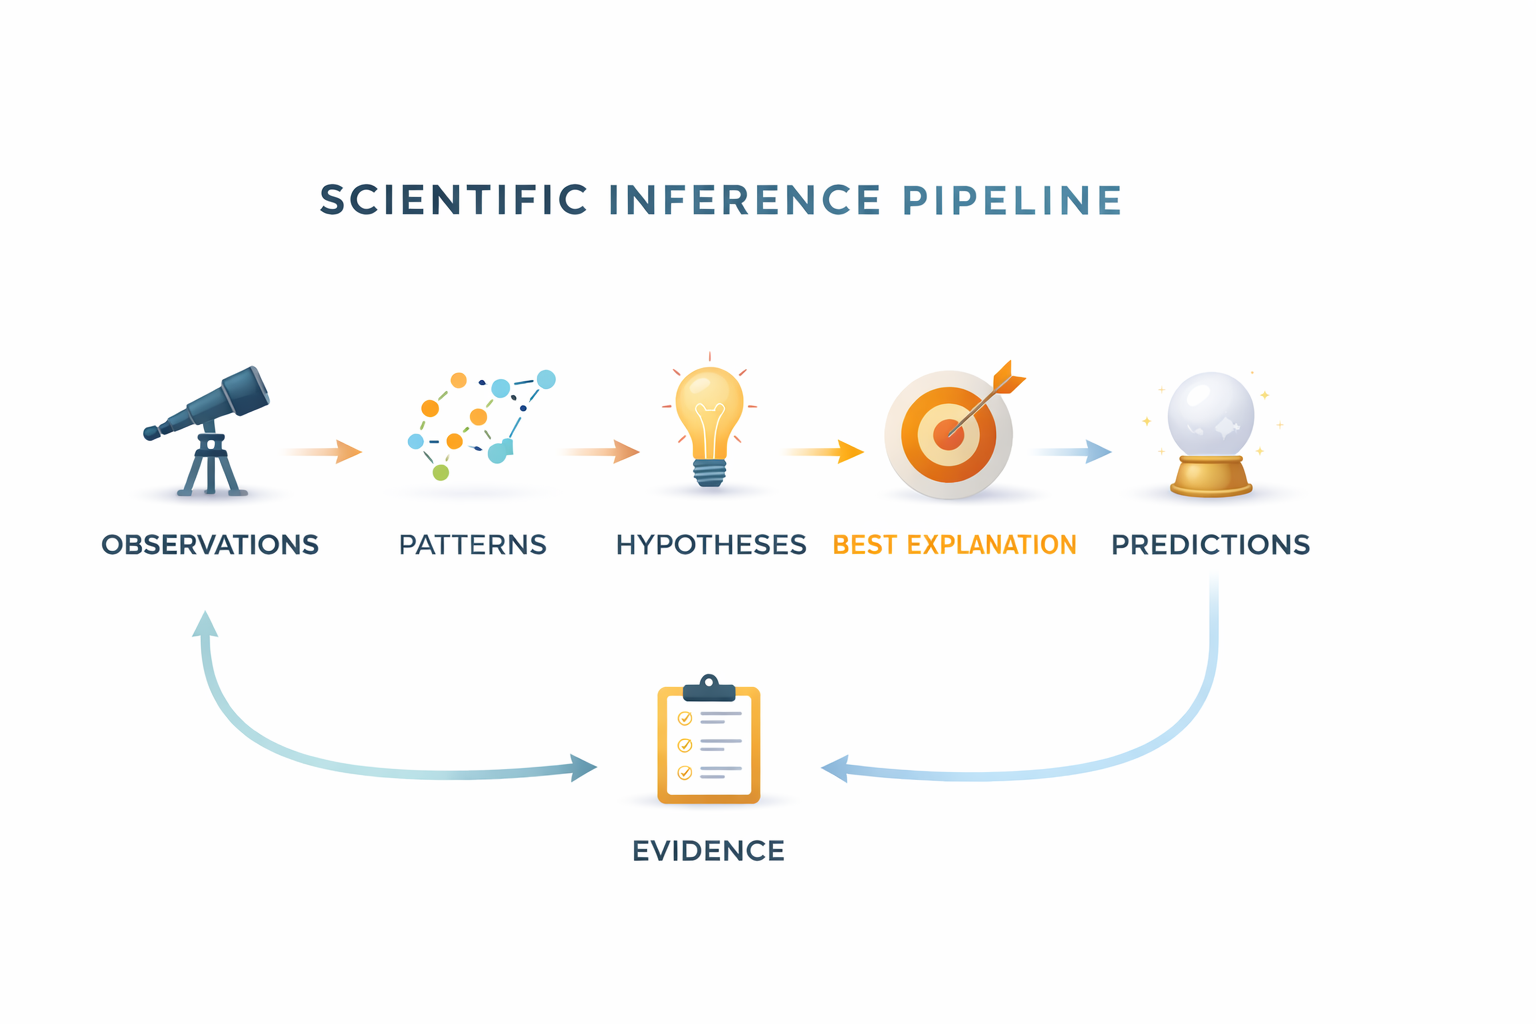
The inference cycle
Belief in science is not permanent. It is iterative.
This iterative structure explains why scientific belief feels both stable and revisable. Stability comes from repeated success. Revision comes from the expectation that explanations are provisional.
Importantly, the cycle operates at multiple timescales. Some explanations change quickly, others remain stable for centuries. What matters is not permanence but performance. An explanation earns trust by continuing to organise experience effectively.
Inference, therefore, functions less like a single decision and more like an ongoing commitment. We act as if an explanation is true while remaining prepared to update it.
Observation leads to patterns. Patterns lead to hypotheses. The best explanation generates predictions. New evidence either strengthens or replaces the belief.
This cycle makes scientific belief dynamic rather than absolute.
Scientific belief is provisional. It lasts until a better explanation appears.
Resolution — why inference justifies belief
We accept the unseen when evidence demands it. When patterns persist. When explanations predict. When knowledge becomes more coherent.
Inference allows us to move beyond the limits of perception without abandoning reason.
Belief in science is not about certainty. It is about the best explanation available right now.
And that is enough to act, to build, and to understand the invisible world.
Seen this way, inference is not a weakness of knowledge but its primary engine. Direct observation alone would leave most of reality inaccessible. Explanation allows us to extend understanding beyond immediate experience without abandoning discipline.
The philosophical significance is broader than science. Every day reasoning follows the same pattern. We infer intentions from behaviour, causes from outcomes, and structures from patterns. Scientific inference is a refined version of a familiar cognitive move.
The same structure appears outside science. Religious belief, too, often operates through inference, drawing conclusions from experience, coherence, and explanatory scope rather than direct observation. Traditions can be understood as competing interpretations of shared human phenomena, each attempting to make sense of consciousness, value, suffering, and order. Whether these inferences should be evaluated like scientific ones or according to different standards is a question that opens the next stage of this conversation.