
Introduction
mod_musicindex is an Apache modules which allows nice displaying of directories containing MP3, FLAC, Ogg Vorbis or MP4/AAC files. This includes sorting them on various fields, streaming and or downloading them. It can also construct playlists and search them.
mod_musicindex started as a C implementation of the perl module Apache::MP3.
It features a cache system, currently based on mirroring the tree structure handled by the module, storing files data using a flat text file backend. The project plans to support MySQL, PostgreSQL and SQLite backends in future.
If a picture of CD cover is also added in a directory, it will be displayed in the upper left corner of the web page and as a thumbnail in the parent directory. The file name of the picture must match the following scheme:
"(.){cover,folder}.{jpg,png,gif}"
eg: “cover.png” or “.folder.jpg” are valid names.
The musicindex directory (usually found in /var/www/, atleast on Debian and Ubuntu) contains a sample musicindex.css file which can be tailored as per requirement.
Setting up mod_musicindex on Debian
Since Debian provides a package for it, yes in Sarge too, its extremely simple to install:
apt-get install libapache2-mod-musicindex
ln -s /etc/apache2/mods-available/musicindex.load musicindex.load
Next comes the configuration. The location of music files in the web-root is a personal choice. If you are running a dedicated music server then perhaps you have a complete document root and a virtual server in place. I setup this on my laptop which is also my development machine. UserDir is configured on my machine so I did the following:
vi /etc/apache2/mods-enabled/userdir.conf
        Alias /songs /home/*/www/songs/

        Options Indexes MultiViews FollowSymlinks
        AllowOverride       Indexes
        MusicLister         On
        MusicSortOrder      album disc track artist title length bitrate freq filet$
        MusicFields            title artist length bitrate
        MusicAllowDownload  Off
        MusicAllowStream    On
        MusicAllowSearch    On
#       MusicRssItems       Off
        MusicPageTitle      home
        MusicCssDefault     musicindex.css
        MusicCachePath      /tmp/musicindex
#       MusicIceServer     [ice.domain.my]:8000
#       MusicCookieLife    300
The advantage of this setup is that the module becomes available to all users in the system if they place all audio files in a directory called songs in their web-roots.
Screenshots
Here are some screenshots from my server:
-
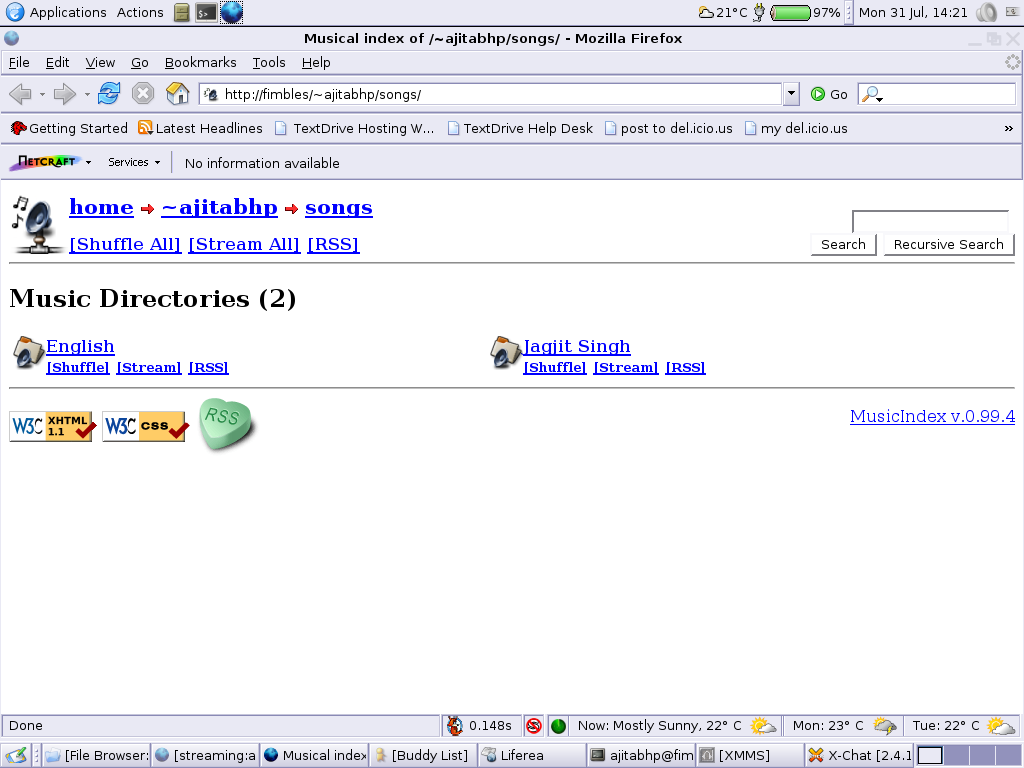
- Music Directories
-
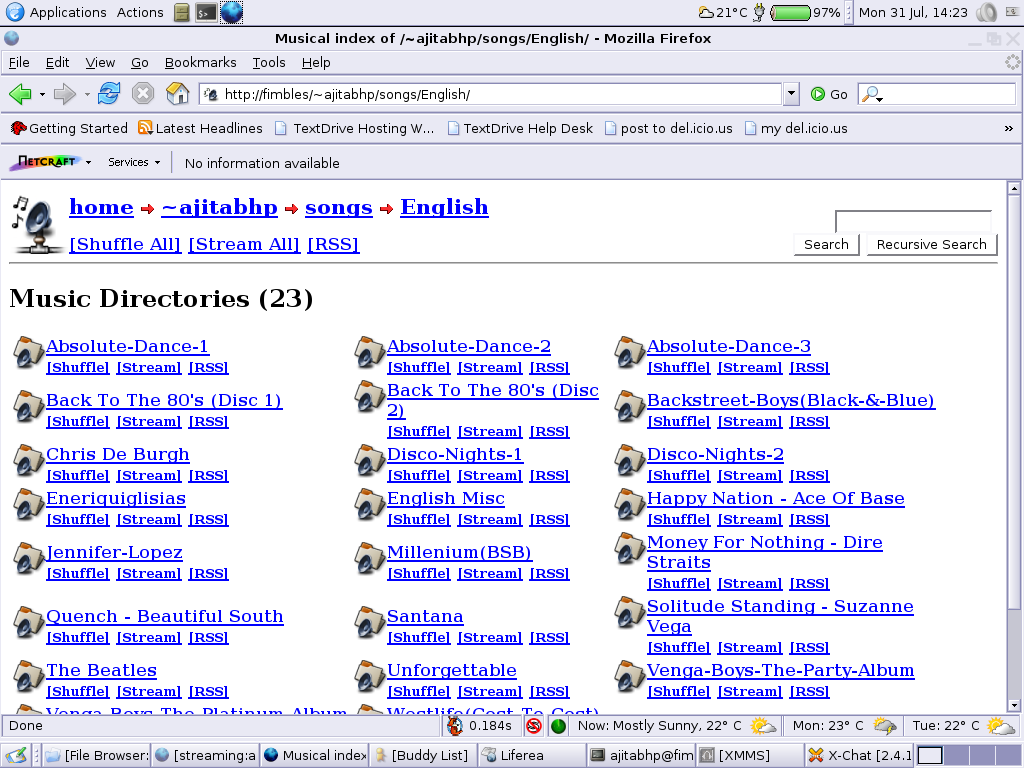
- One level Deep
-
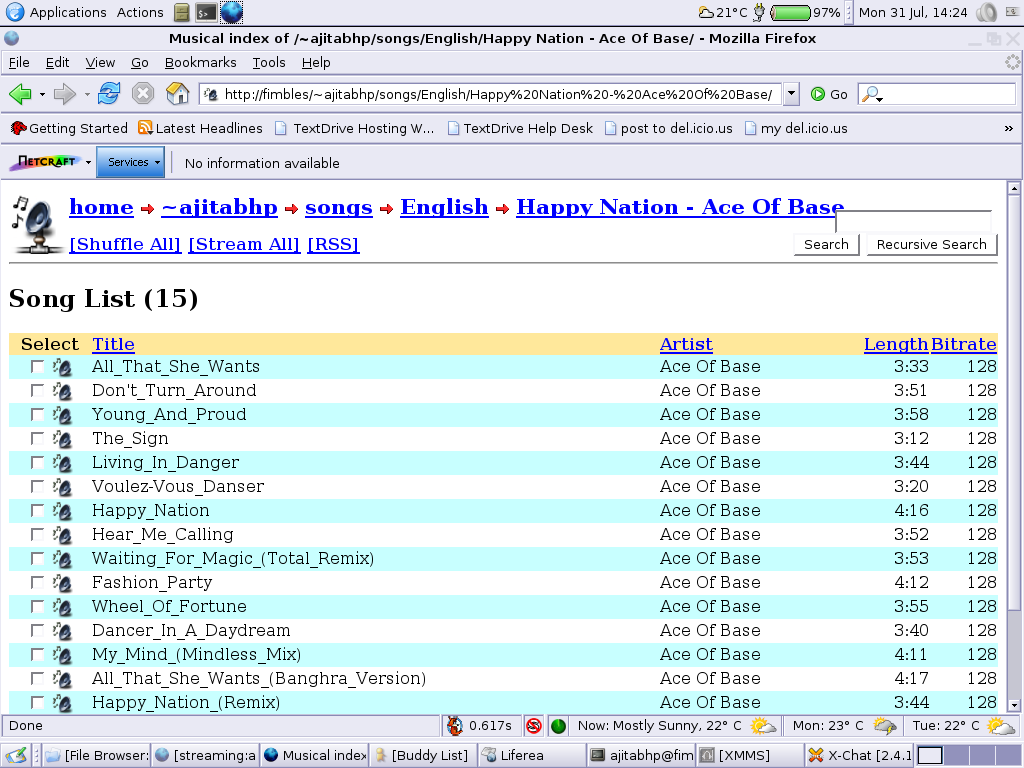
- List of Songs
